
During any sewing project, one ends up with pieces of fabric that are too small to be useful, but big enough that it seems a shame to throw them away. And piled up together, the scraps add up to a pretty sizable amount of material. What to do with these wayward pieces? One thing that I like to do is create a patchwork drawstring purse or bag. It gives you a bag that coordinates with whatever you're making from the fabric, and it creates something striking from those seemingly "useless" little pieces.
The process is pretty simple. First collect your small pieces. Here's a set of scraps left over from a hat I covered recently. (You will probably find yourself saving all kinds of small pieces if you start making these sorts of projects):
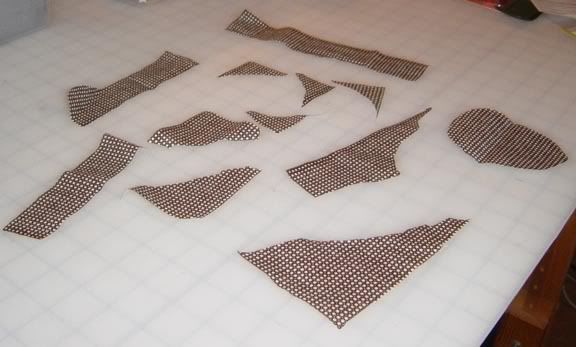
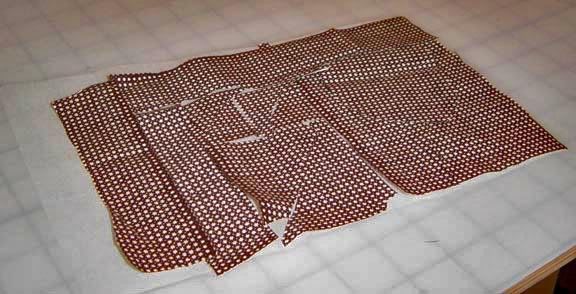
Figure out how to lay out your pieces so they fill in a rectangle/square, or even a circle. (The instructions here apply to square bags, but circular bags are not too dissimilar.) It's okay if your pieces overlap, just try not to leave gaps larger than about a quarter of an inch.
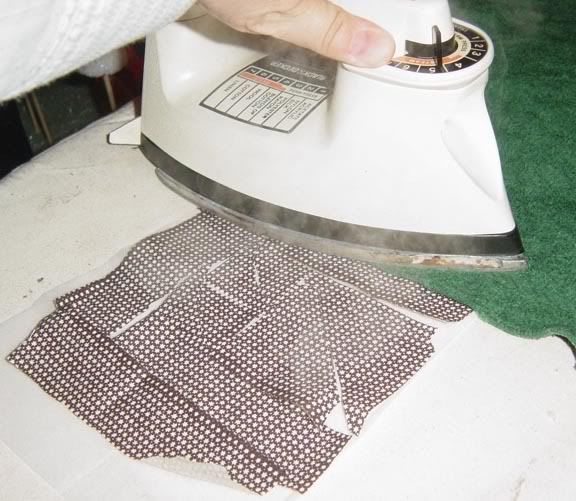
Cut a piece of fusible interfacing the side of your pieced-together shape, and place your fabric on it, with the fusible side towards the fabric. Fuse it to your fabric following the instructions that come with the interfacing. This usually involves an iron on a wool setting and a damp presscloth.
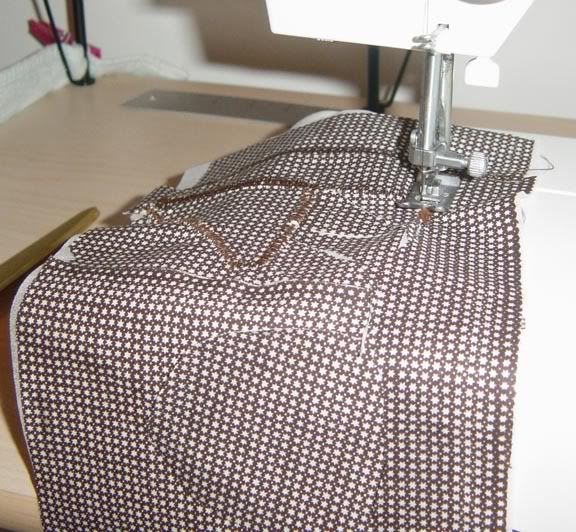
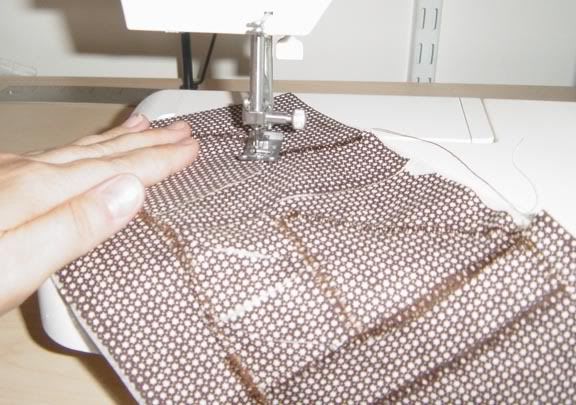
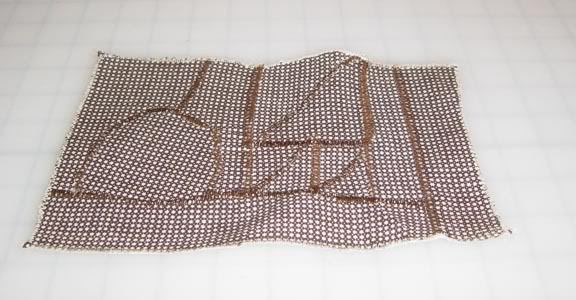
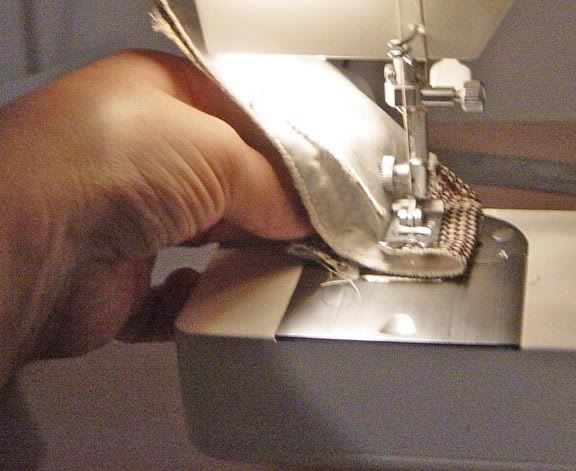
Your fabric will now be stuck down to the interfacing, so your little pieces will stay in place. Next set your sewing machine to its widest zigzag stitch setting, and a short stitch length, usually around 1. Zigzag stitch over all of your edges of all of the pieces. It's okay to go over some edges more than once if you need to, in order to not have to start new lines of stitching. You can use a coordinating thread color, as I did here, or you can use a contrasting one to play up your patchworking.

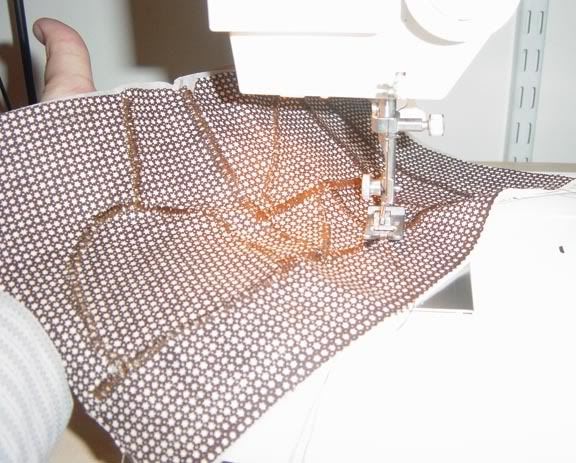
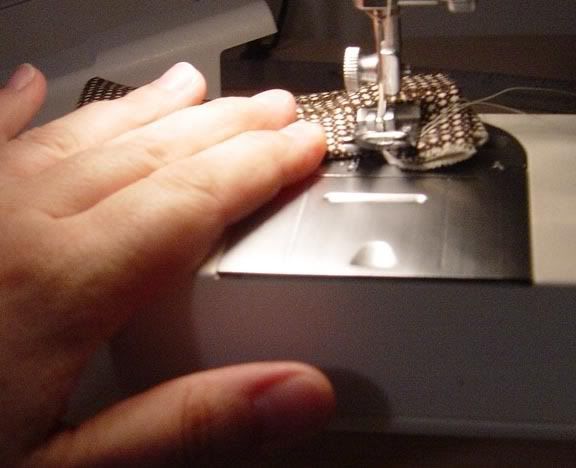
Once you have finished your zigzag stitching over the surface of the fabric, use the same stitch to overcast the entire edge of the piece. This is done by zigzag stitching off of the edge of the fabric, so it locks the edge in stitching and it won't fray.
You'll probably want to press your finished piece.

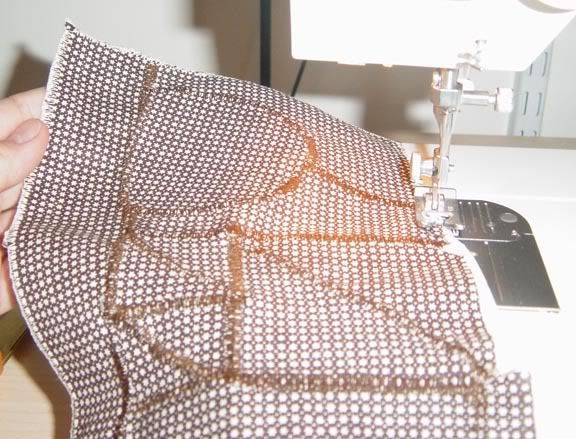
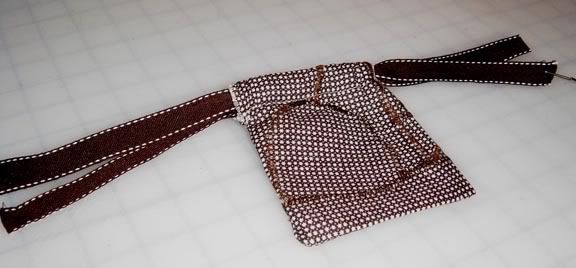
So here's what the finished piece looks like.
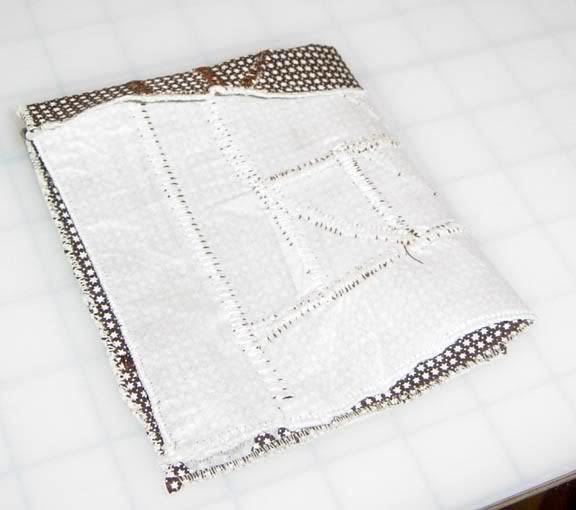
At this point you can back the piece with another piece of fabric the same size (another patchwork piece, if you like) or you can fold the patchwork piece in half to make the bag. In this case I was making a smaller bag so I folded it. So to figure out the size of your final bag, fold it in half and fold over about an inch or so of fabric at the top (depending on the size of the drawstring you will use).
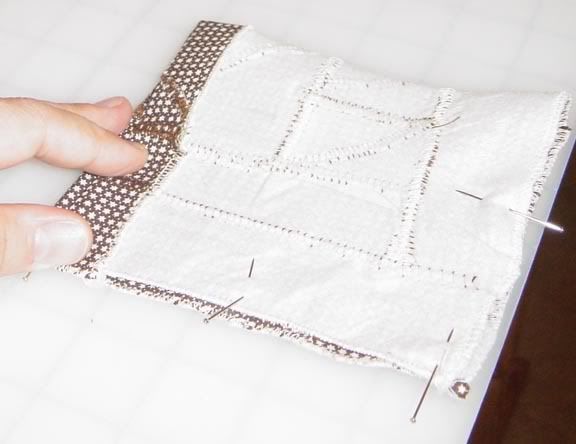
To make a hole for the drawstring on the folded side, mark the folded location with pins and make a small buttonhole that is slightly shorter than your casing length.
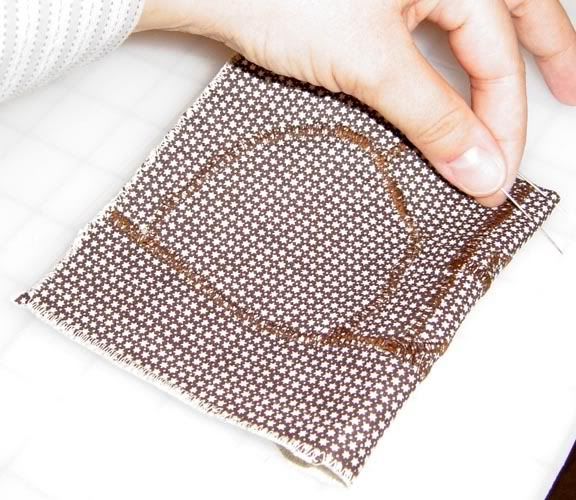
(You can skip the buttonhole step if you are not making a folded bag. Just do both sides as indicated below.)
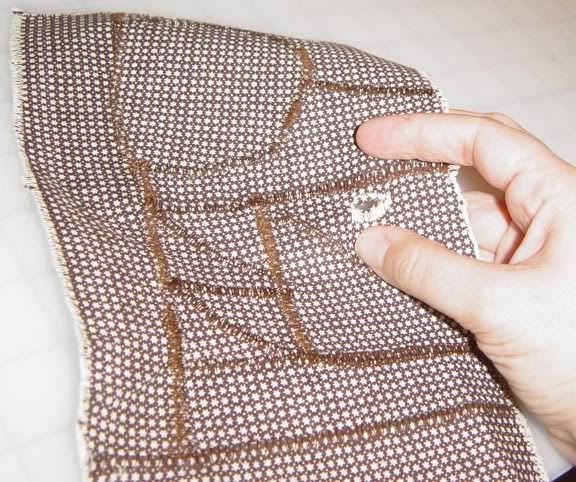
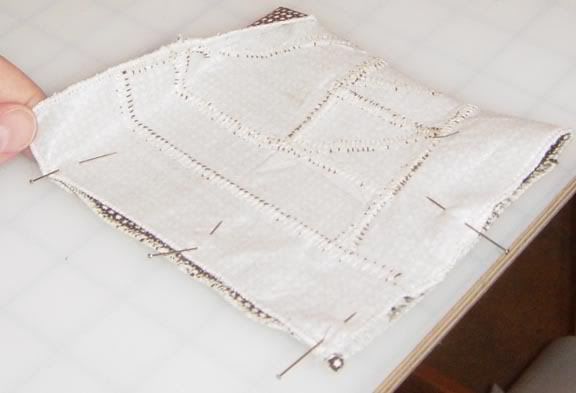
Fold your bag back in half, inside out, and pin the open sides together, stopping just a little bit above where the top foldover (which will make the drawstring casing) will attach to the rest of the bag.
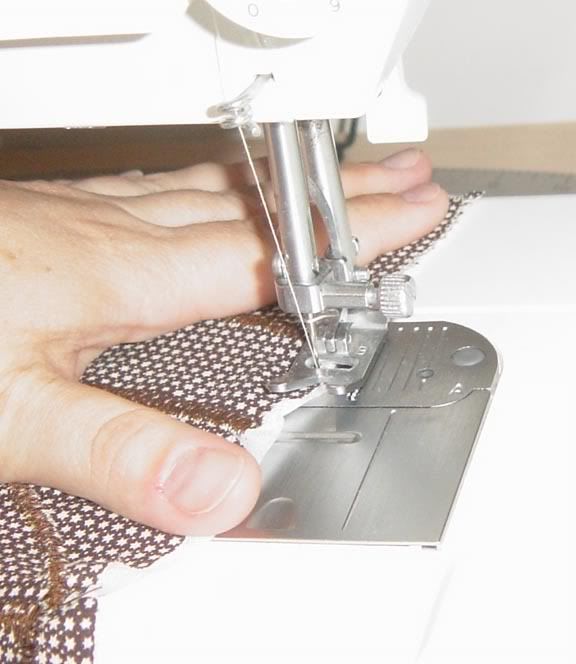
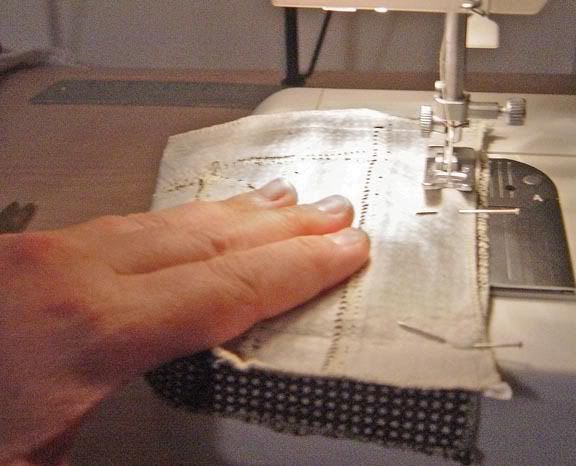
Sew on the two open sides, again stopping where you pinned at the top.
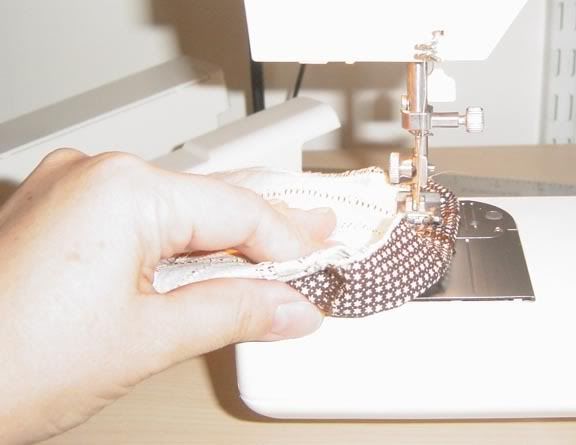
Fold down the casing and stitch, being careful to sew only through one layer of fabric! If you sew through both sides, you'll sew your bag shut!
Turn your bag right side out and press, and then turn the seam allowance to the outside just at the top on the stitched edge to create the opening for the casing. You may need to stitch it a couple of times to hold it in place.
To create the drawstring, cut two lengths of a ribbon or cord to about three times the width of your bag, and attach one to a safety pin.
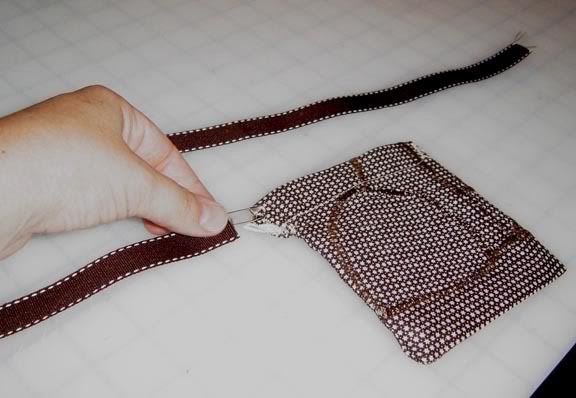
Thread it through the casing opening on one side, all the way around the top of the bag, and back out the other opening on the same side that you started.
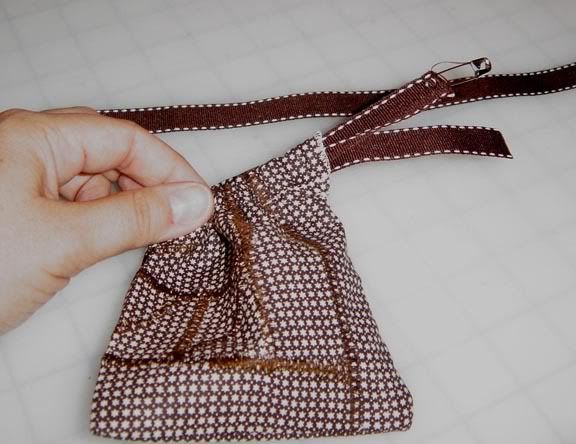
Repeat for the other side of the casing.
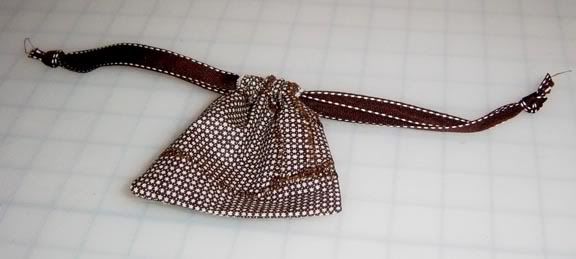
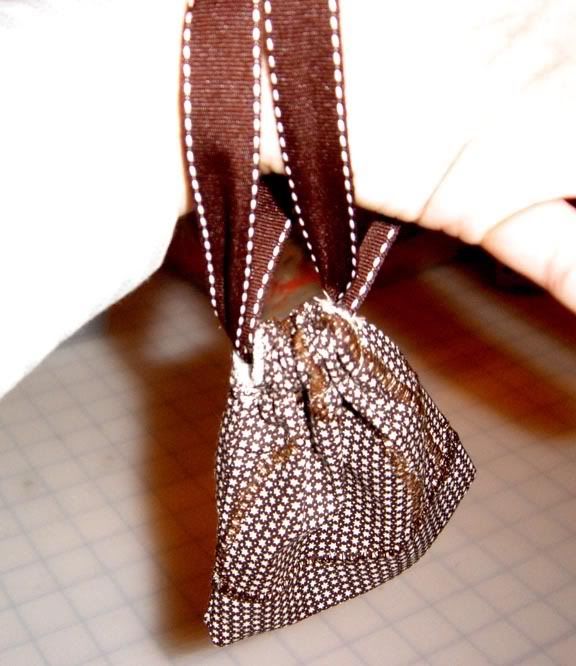
Knot the ends of your cords, and your bag is finished!
Here are some other patchwork bags I've created over the years. In one I made an effort to line up the pieces so they had the same pattern as the original material. In other projects the stitching becomes part of the design.

Once you have your piece patchworked, you can of course use it for other things than drawstring bags. You can create other purse layouts, or if you have larger patchwork pieces, they can be made into a shawl, for instance.
I hope this easy and quick project will give you something fun and rewarding to do with your leftover pieces!
--Many thanks to Joei for sharing this project how-to with us!

Very cool tutorial, thanks for sharing! I just wish I knew how to work a sewing machine.
ReplyDeleteThis is really neat--the next rainy afternoon that we have, I plan to give it a try!
ReplyDeleteThank you for this tutorial! Very cool!
ReplyDelete"reduce reuse recycle"... this is awesome, I'm thinking a lot of presents will be wrapped in these bags this year!
ReplyDeleteGlad everyone enjoyed it and can use the info for their own purposes! Sarah, regarding presents, I can imagine making the bags longer for use as wine bottle present bags!
ReplyDeleteGreat article! Thanks for all the photos, too. I wish I had any talent for sewing, but I'm going to share this with my friends who do!
ReplyDelete